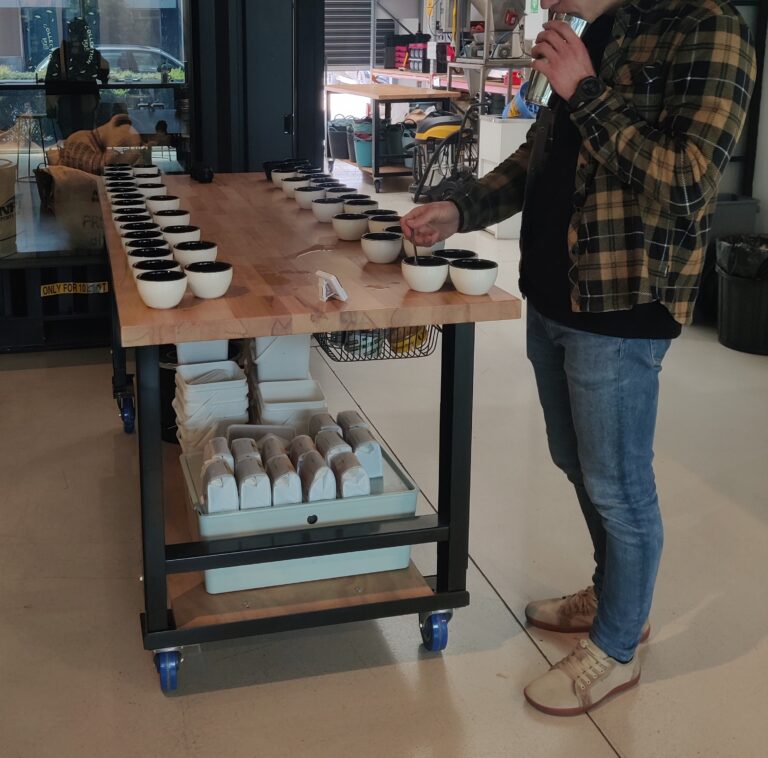
003: Cupping protocol

Starting my new job as a roasting/production assistant has been pretty interesting so far. I had the opportunity to cup some roasted batches with the head roaster. Upon being told of the cupping protocol used for QC, I questioned him as to why he decided to use those variables (i.e. 7’00 break time and that ratio) he said “just because”. To discover the “why” alongside him, I held a blind cupping the next morning where I changed a single variable in each cup to see the impact it had.
Current cupping protocols at work:
Ratio: 11g : 180g (1:16.3)
Temp: 92C
Crust break time: 7’00
First Sip: 10’00
Each cup in the blind cupping:
1. 11g:180g (control)
2. 11g:180g (4’00 crust break)
3. 11g: 200g (longer ratio 1:18 SCA standard)
4. 11g: 180g (courser grind)
5. 11g: 180g (even courser grind)
Observations:
Cup 1 (control): In comparison to the other cups, this was super balanced from hot-to-cold. Didn’t become astringent when fully cooled.
Cup 2: the most noticeably different cup. Had the best quality acidity and also the best taste when hot. When cooled, became slightly unpleasant due to further increased perceived acidity.
Cup 3: A lot more cleaner throughout whole cup.
Cup 4 + 5: The intensity just wasn’t there. Coffee was super mild both hot and cold but brought out some different characteristics to the coffee.
Discussion: So what does this all mean? Honestly at the time, I didn’t know; but, later, I realised that cupping in QC could be such a powerful tool in determining how to extract a coffee in both filter and espresso.
At the end of the day, cupping is still a form of extraction (immersion) and should be done with methodology that relates to how you would want it to extracted as an end product.
When coffee meets water, the compounds extracted come out at different times of the overall extraction due to their respective solubility in water (ALL IN RELATIVE TIME). These compounds are caffeine (pretty straightforward) which can taste a bit bitter on its own, volatile oils (contributes to perceived acidity and aroma) and organic acids (balances volatile oils, contributes to flavour). [refer to image below].
- This explains why Cup 2 had better quality acidity; but, when cooled didn’t have enough organic acid compounds to balance out the increased perceived acidity – leading to a more astringent cup (only when it was almost totally cool)
Immersion vs percolation brewing method: Immersion method lacks the kinetic energy of water being pulled through the coffee to extract nearly as much compounds c.f. percolation where gravity or internal pressure forces water through the grinds – helping increase extraction.
- Explains why Cup 4 + 5 were pretty weak in general in the cupping style. In percolation method, these could bring out different characteristics of the coffee.
I personally find that in percolation brewing, increasing the ratio reduces overall intensity and leads to a cleaner cup. Obviously, the coffee extraction still has to be done within reasonable time to get that balance of compounds in the cup.
- Within the set break time, Cup 3 was cleaner through to the end.
So in the end WHAT DOES THIS MEAN?! I dare say that cupping any coffee with these different variables can “potentially” tell us how to dial them in for desired flavour qualities.
- Grind Size: Results in different cup quality and extraction (finer = smaller coffee particles = more coffee in contact with water = a lot more compounds extracted = intense cup -> and vice versa).
- Ratio: Assuming time is sorta constant, can determine how clean your cup is based on the bypass during the extraction.
- Extraction time: Can determine how much organic acids you extract to balance out the volatile oils (more organic acids = more balanced cup -> until it becomes too much and ends up being bitter as)
Thanks for reading 003 (sorry it was a bit of a yap)
jos x
